Your Response To The Invitation Cannot Be Sent Iphone X/XR FIX If you are getting the Calendar Alert your response to the invitation cannot be sent 2019 this is how you fix it!
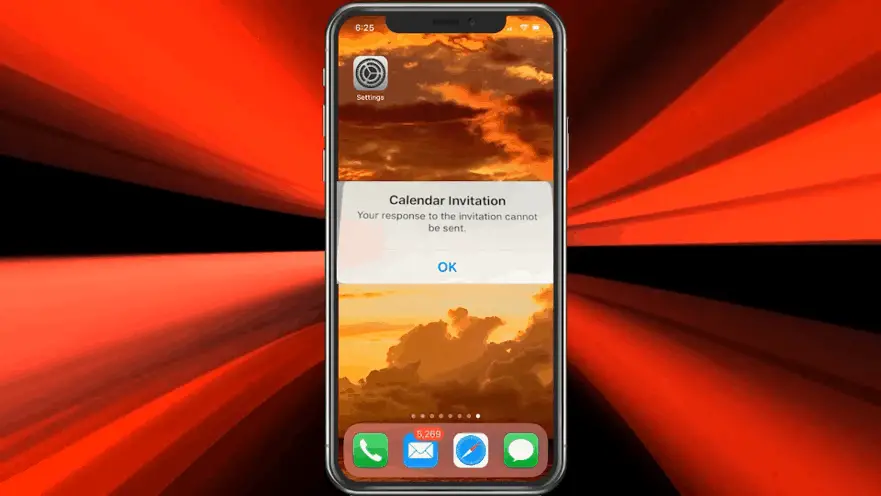
A pesky message appears on the iPhone screen from the calendar notifications that is hard to remove. The statement says, “Your response to the invitation cannot be sent – OK” as a notification on the screen. The immediate response that most users have is to press, OK.
However, after a few minutes, the message pops-up, and you will repeat the process several times a day. After a while, you will want to find a permanent solution for the issue. Understanding the cause of the problem can help you know the various answers for your device.
Here is a quick solution, if it doesn’t fix the issue please see more info below.
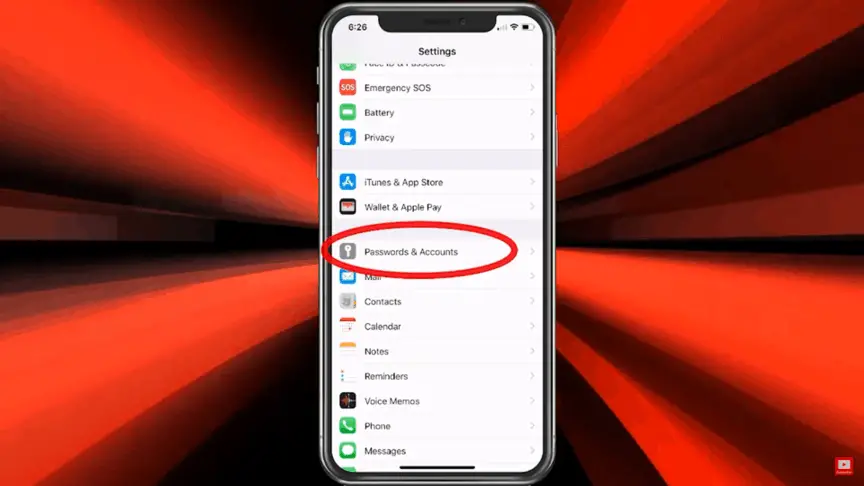
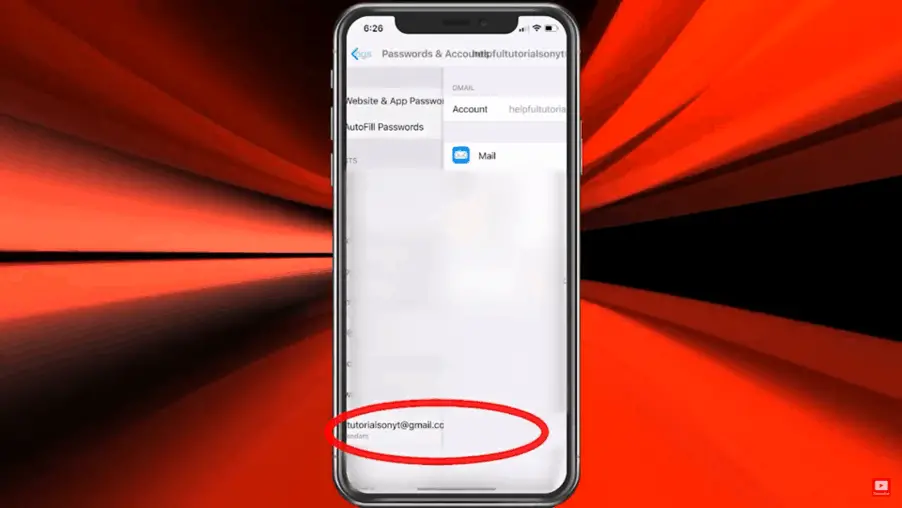
Step 1. From settings choose Passwords & Accounts.
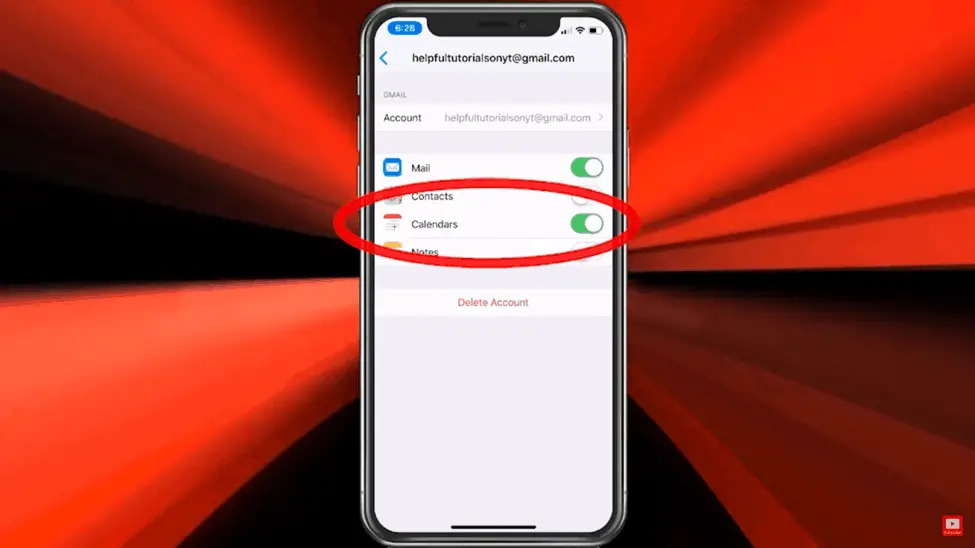
Step 2. Click on the email you are using for calendars.
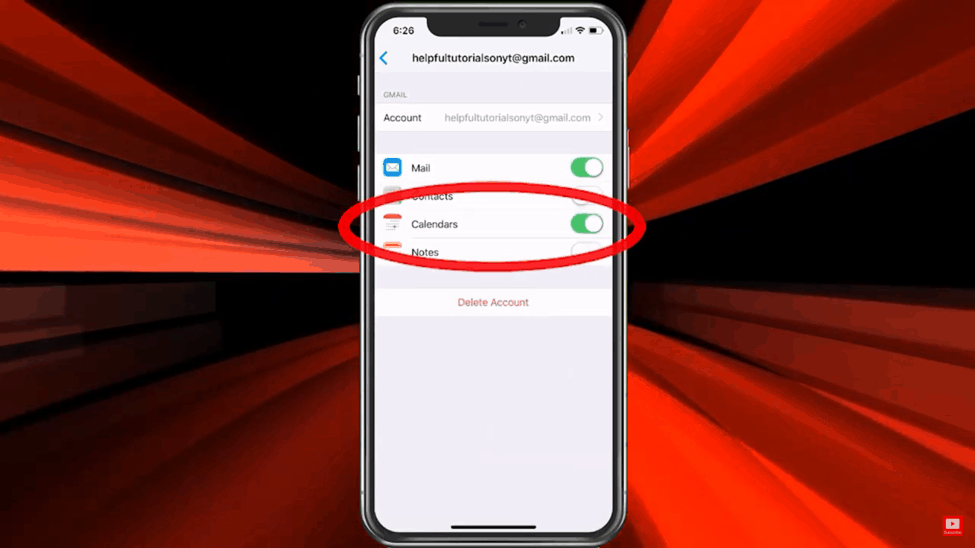
Step 3. Turn the calendars off.
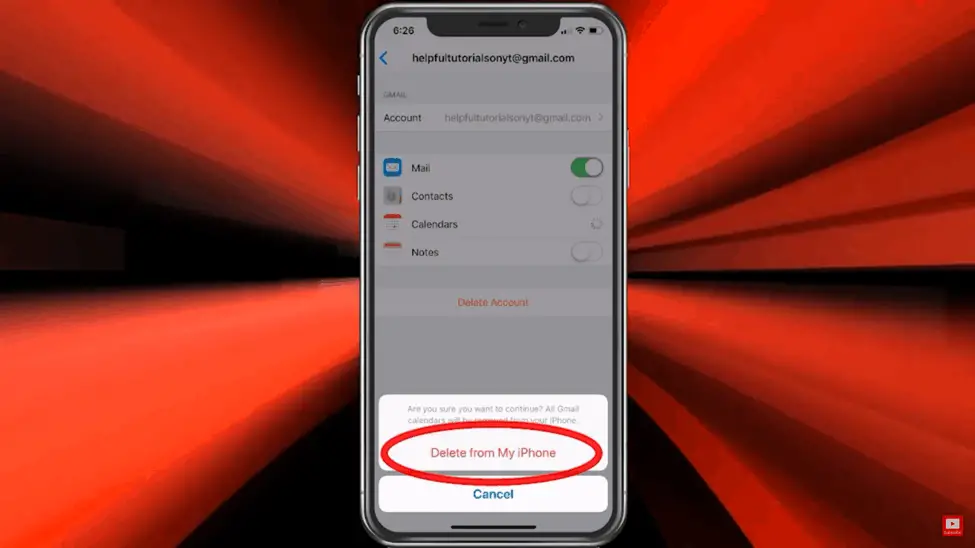
Step 4. Select Delete from My iPhone.
Step 5. Power your phone off by pressing the buttons on the side.
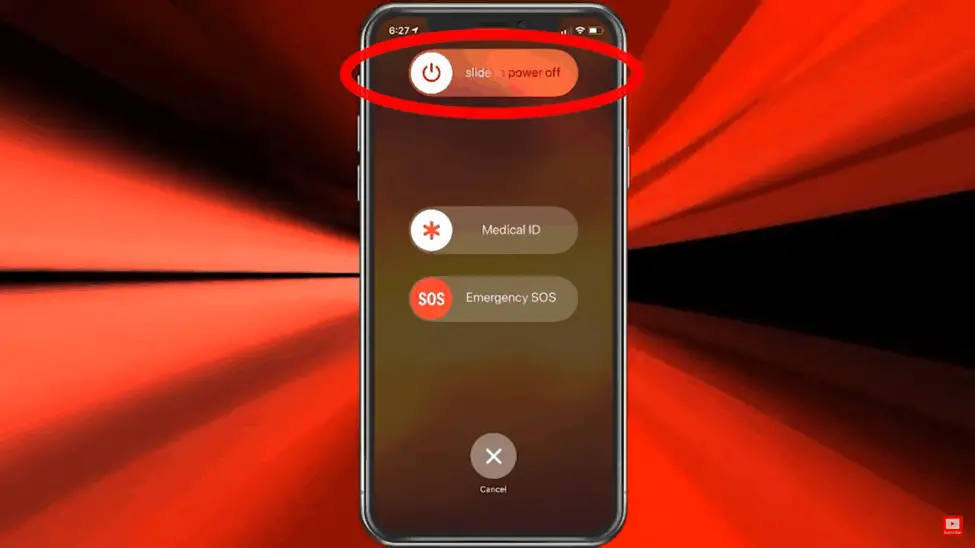
Step 6. Slide the power off.
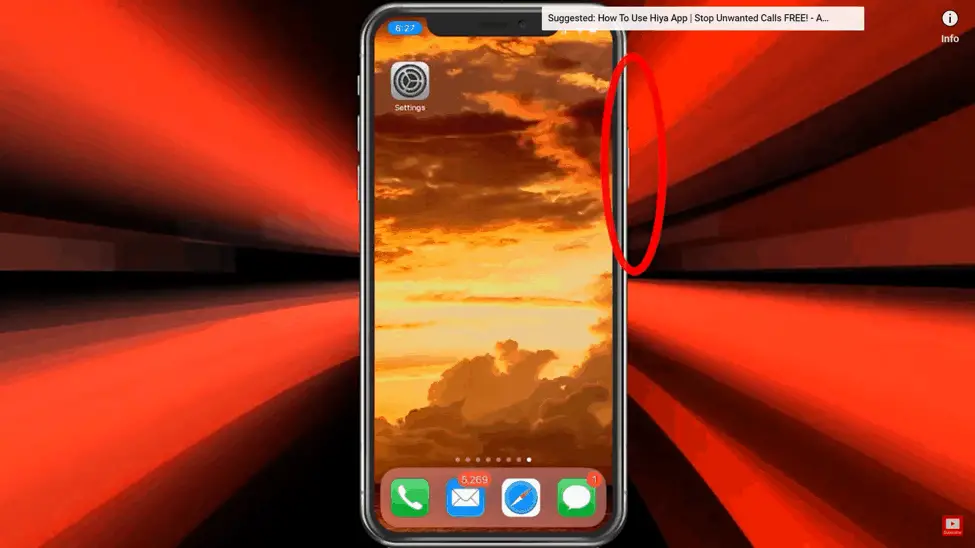
Step 7. Press the button on the right hand side to turn it back on, you will probably see an
apple for a moment.
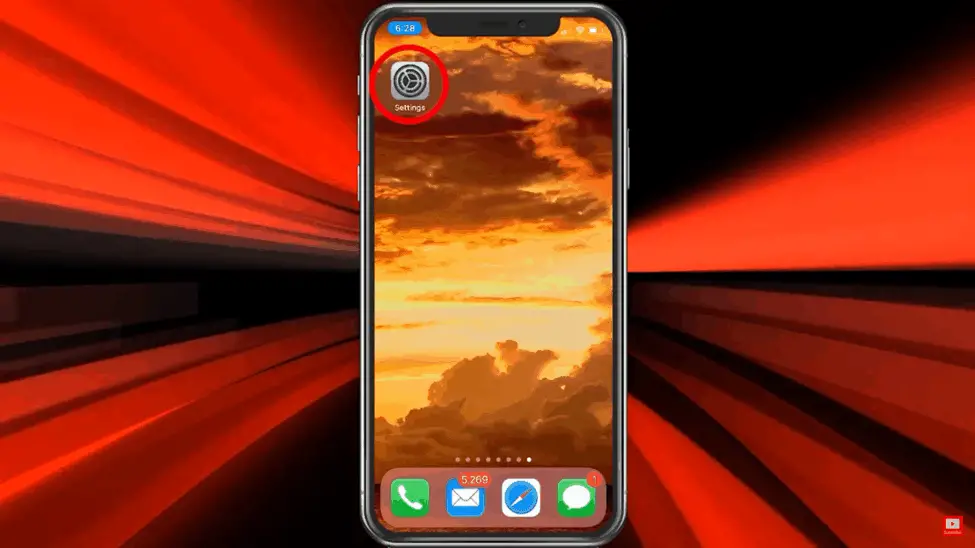
Step 8. When the phone comes back on choose settings.
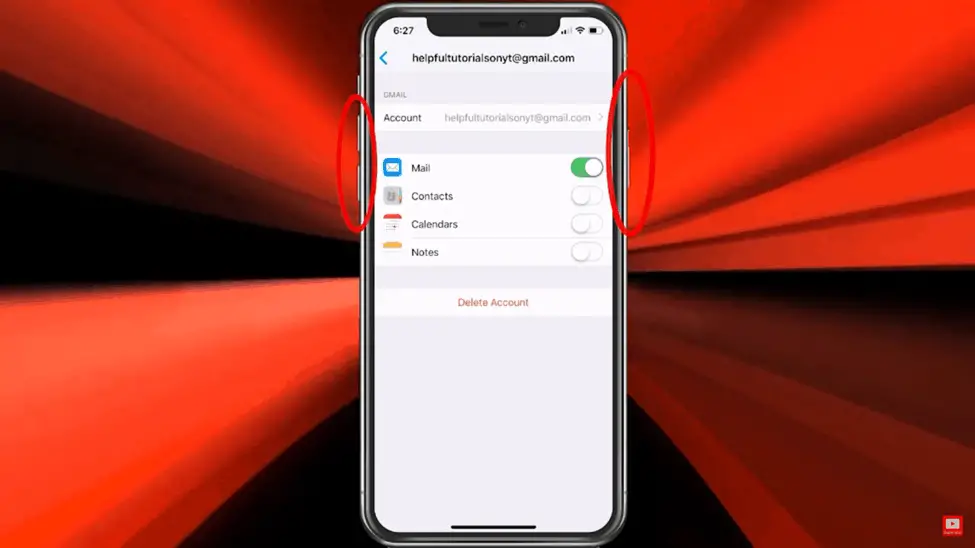
Step 9. Select the email account again that you are using with the calendars. Turn back on.
What Causes the “Your Response to the Invitation Cannot Be Sent” Issue?
A “Your response to the invitation cannot be sent” message arises when the one you accept or reject an invitation from your calendar but the response isn’t delivered. The calendar on your phone connects to the cloud. Whenever a reply is not conveyed from your phone calendar to the cloud one, you end up with a message that says that the response can’t be sent. Most of the solutions included synching the cloud calendar with the one on the phone or reinstalling the calendar app afresh.
Ideally, you need to be in a location with a steady internet connection when sending responses for invitations using your calendar app. A poor connection will interrupt the delivery of the response and trigger the constant reminder notification. Also, check the apps that are working on the background of a device before responding to invitations. Overworking the processor can interfere with the message relay of your responses until you shut down some of the apps running.
On rare occasions, the account you use for your iCloud may be the cause of the issue. For example, a problem with Gmail may make it hard to synchronize your calendar until the service provider is up and running again. Bottom line, it is nothing serious, and you can resolve it in no time with a little patience.
What Solutions are Available?
Several methods of dealing with the response notifications stop it from annoyingly popping up now and then. The ways start with the simplest one to the most complex one. All the DIY methods are possible when following the instructions on our list carefully to achieve the desired results.
Method 1: Turn Off the Calendar App
Turning off the calendar app is a simple solution that you should try to solve the recurring calendar notification problem.
- Go to the settings of your iPhone or iPad and tap the cloud name of your device.
- Find the calendar app and toggle off.
- Wait for a minute or two patiently.
- Toggle on the calendar app
- Go to the settings and turn off your phone.
- Turn on your phone, and the notification should stop appearing.
Turning the calendar off and on prompts the app to sync all the data with the cloud. Be patient throughout the process and let the synching process work out any glitches that may appear on your phone.
Method 2: Restart Your Phone
Restarting your phone can indeed reset any bugs that may be in your system and make the calendar app to work well again. It doesn’t work all the time, but it is a simple solution that you can try.
- Press both buttons at the side of the phone and choose shut down options.
- Wait for a minute or two.
- Press the power button and turn on the phone.
Method 3: Update Your Device’s OS
A glitch in the software can be why your iPhone or iPad is sending you calendar notifications. You must update your iOS to the latest version to deal with the messages once and for all.
- Go to general settings and select the software update options.
- It may take a while for the software update to be complete.
- Your phone will automatically restart after the update.
Software updates have patches that fix common problems that can cause a phone to glitch. It will also sync your apps to your cloud account, automatically sending your response to an invitation. You must keep on updating your phone’s iOS as recommended by the manufacturer.
Method 4: Refresh Your Calendar App Settings
The most effective method for dealing with the “Your response to the invitation cannot be sent” is deleting the calendar and reinstalling it. It will eliminate any data mismatch that may be the cause of the notification. It is a long process, and you need to do it when you have adequate time to complete the process.
- Go to settings and select the Passwords & Accounts option.
- Tap on the name of the cloud account that is connected to the calendar that is sending notifications.
- Select the account on the iCloud option on your iPad or iPhone.
- Select the toggle off button on the Calendar App.
- A prompt will ask, “Are you sure you want to continue? All calendars will be removed from your iPhone.”
- Click on the “Delete from My iPhone” button.
- All data will be automatically backed up to the servers when you delete the apps.
- Go to the settings and select the shut down option under general settings.
- Wait for a minute or two after your device is off.
- Start the iPhone or iPad.
- Go to the settings and choose the Passwords & Accounts.
- Select the calendar linked to your account and toggle it on.
- It will take a while to restore the data of your phone from the cloud.
Refreshing the Calendar App from your phone is the most effective way to eliminate the calendar notification. Ensure that your devices have adequate power before starting the reinstallation process. Professionals who use the calendar for planning should expect to restore the app to the phone to take a longer time.
Method 5: Delete the App
After trying the four methods above without achieving the desired results, you can try deleting the app from your phone. It will take a few minutes, and all your information will be restored when you download a new app.
- Find the Calendar App on your iPhone or iPad and hold it until it jiggles.
- Tap the X button that will appear on the app to remove it.
- Open App Store and search for the calendar app.
- Reinstall the application on your device.
- Please wait for the reinstallation to be complete before opening it.
- Synch the app with your desired account. It may take a few minutes.
- Browse through the app to ensure that your data has been restored.
Failing to update the calendar app can lead to the glitch that prompts the notification. Once you download a new app and reinstall it, the information should stop appearing.
What Happens When All the Methods Do Not Work?
Most of the time, the methods listed above do work in removing the “Your response to the invitation cannot be sent” notification from the phone. You should contact Apple customer support when all the methods above do not work. The customer support personnel will direct you on what steps to take to remove the notifications. You will probably be connected to a technician who will assist you with your problem. Alternatively, you can visit the nearest Apple Store and talk to someone about the issue.
Will Any of the Methods Above Affect My Phone?
None of the methods above will affect the functions of your phone in any way. The plans are tried and tested on various iPhone models that have the calendar notification issue. Your data will be automatically stored in your iCloud account and downloaded after reinstallation of the app to your phone. You don’t have to worry about losing information about valuable appointments that you have marked on your phone’s calendar.
Some of the methods require a steady internet connection for them to work fast. A slow connection can affect the time it takes to restore data to the new calendar app. It may also consume a significant amount of power, so don’t start reinstallation when the phone’s battery is low.
Is It a Common Problem?
The “Your response to the invitation cannot be sent” is common in iPhone 6, 7, 8, X, and XR models. However, it is something that only a few users experience. Apple has put effort to eliminate the problem and ensure customers have a seamless user experience. You can take hope knowing that it is not a severe problem and it won’t affect your device’s functions. There are a few cases where a phone hangs because of the constant notification process. You can force the calendar app to stop to regain the operation of a device when it glitches.
Bottom Line
It is possible to solve the “Calendar invitation: Your response to the invitation cannot be sent” issue with a few tricks. However, you need to contact the manufacturer when all the methods in this article do not work. Apple has a team of experts who can help you resolve the issue as soon as possible. One of the ways above will likely fix your problem is you follow the steps carefully. Above all, try reaching out to Apple before deciding to talk to a third party expert when the problem persists.
This solves the issue. If it happens again go through these steps. Like subscribe to our YouTube channel if you find our videos helpful.