
How to Install Fonts on iPhone for Free iOS 13 This video will show you how to install fonts on iPhone iOS 13 without paying anything. We will talk about the new menu that was added “Fonts” and what it means for iOS 13.
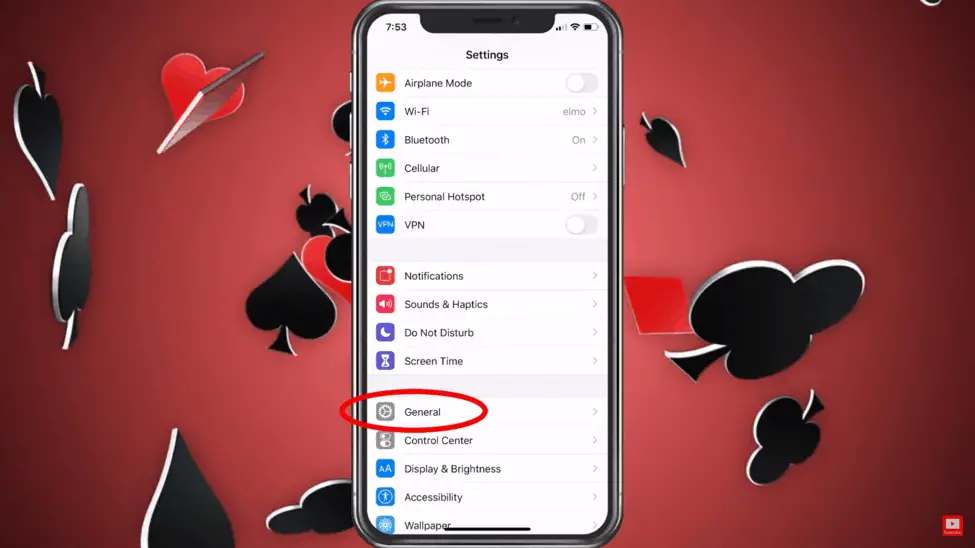
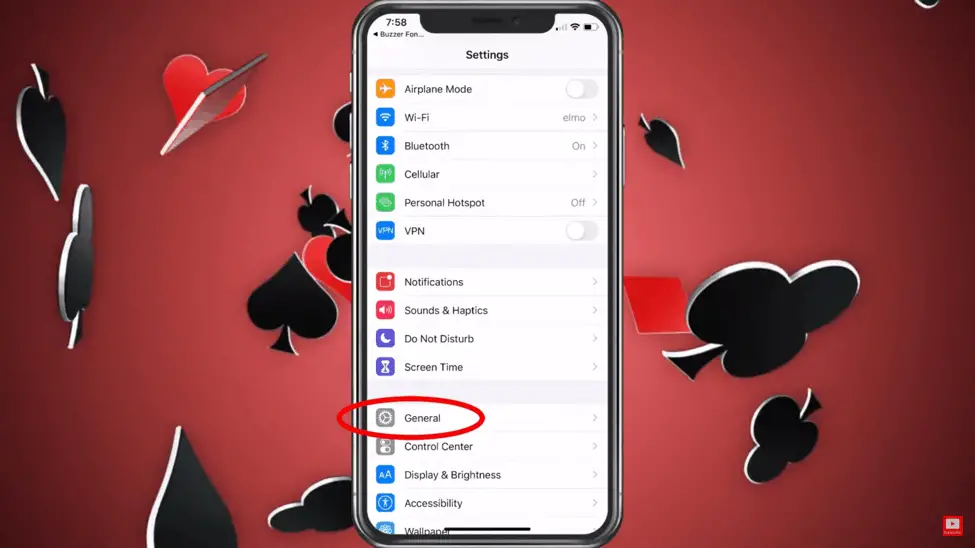
Step 1. Select Settings
Step 2. From the Settings menu select General
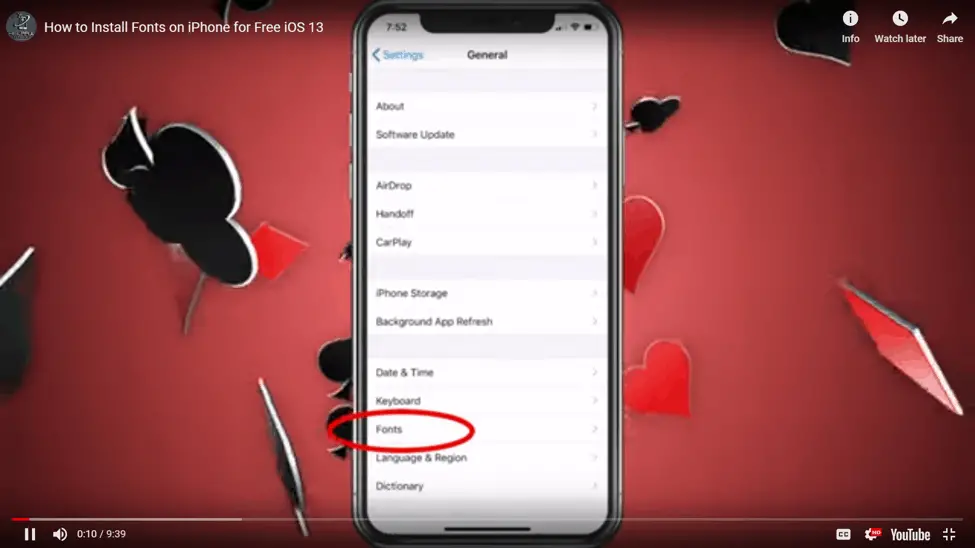
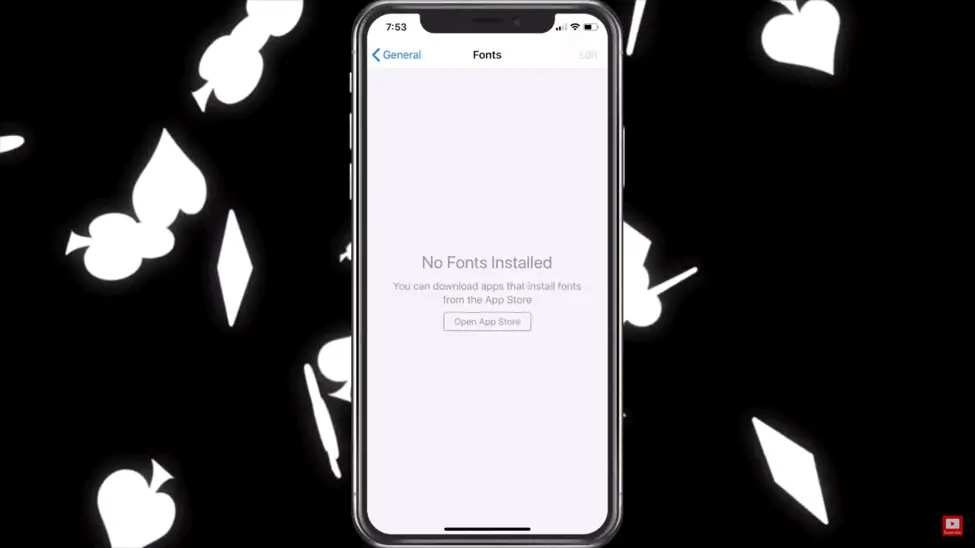
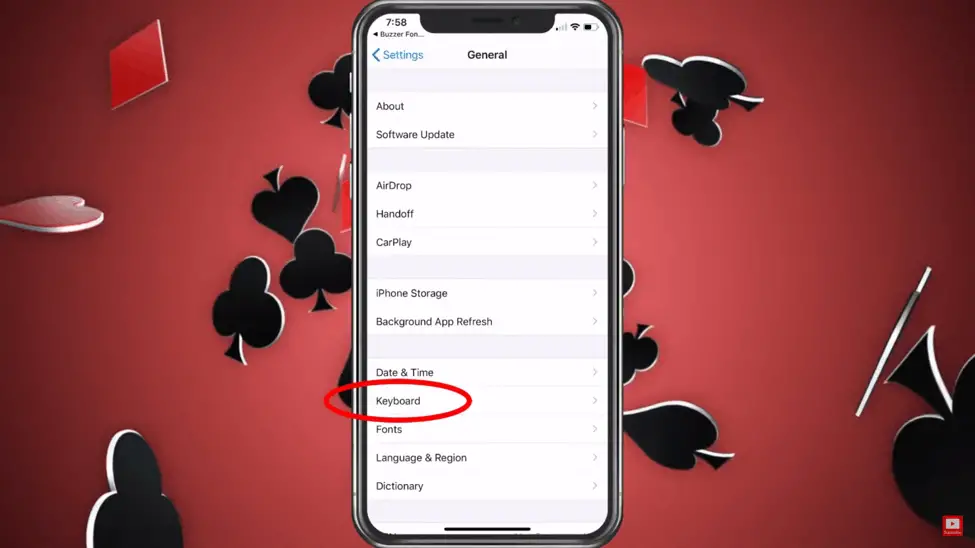
Step 3. From General select Fonts
When you go into the fonts menu its says the following:
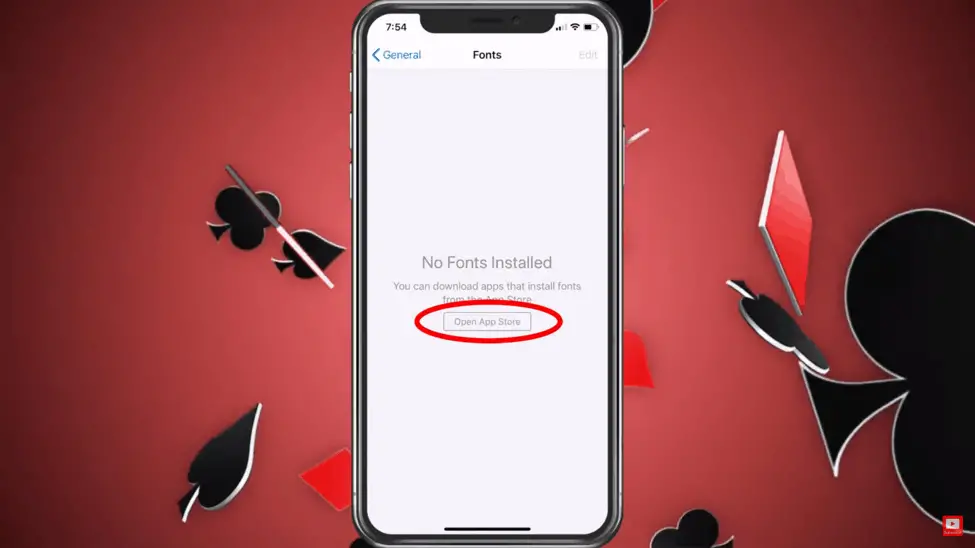
Step 4. Choose Open App Store.
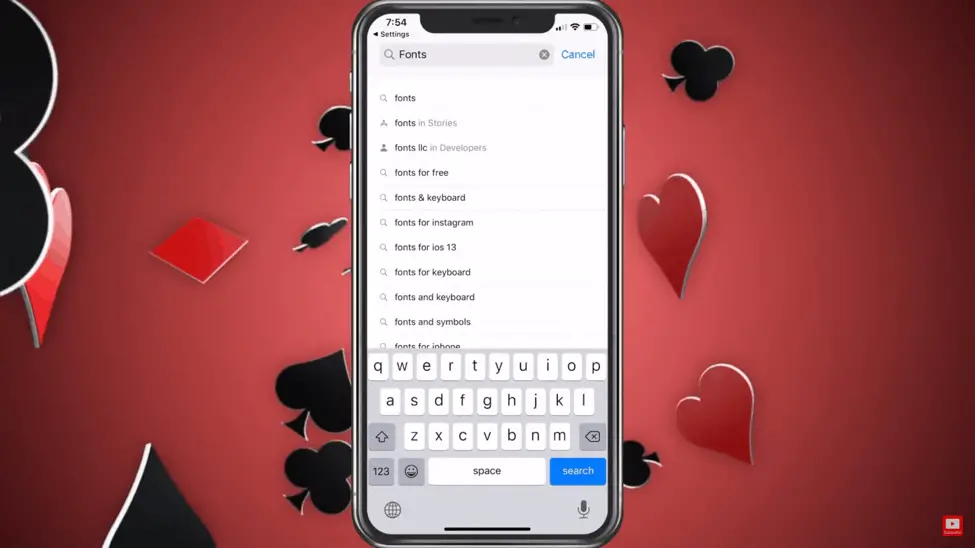
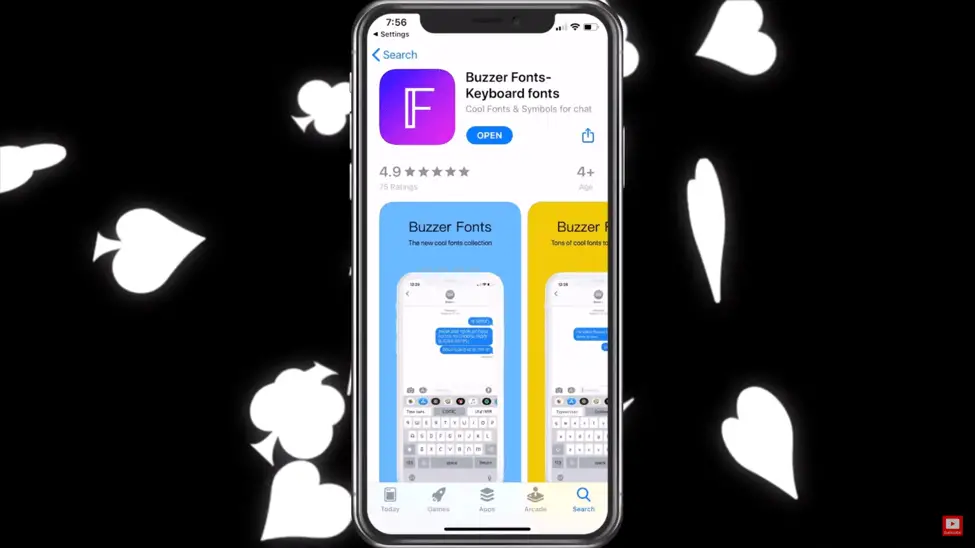
Step 5. Choose search and type fonts.
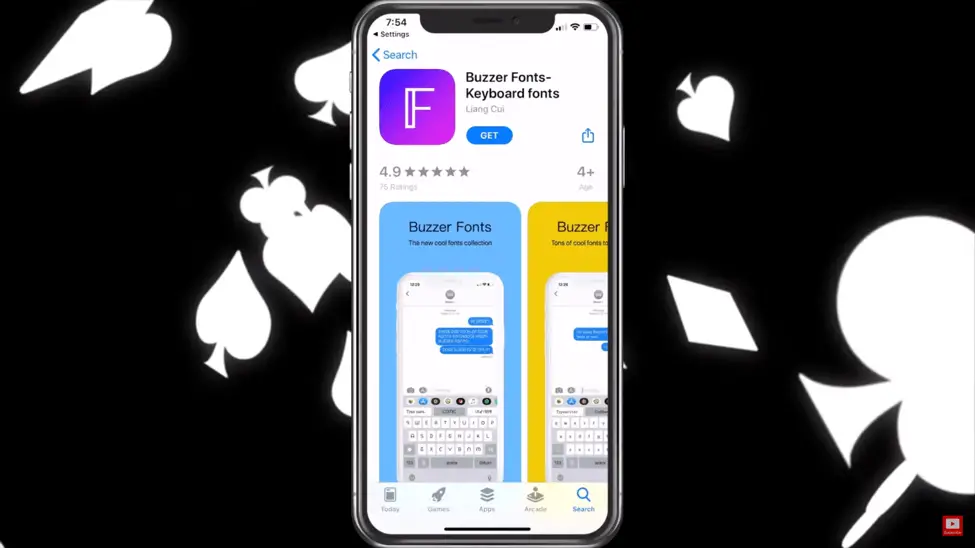
Step 6. Scroll down until you get the following: Buzzer Fonts-Keyboard

Step 7. Choose Get to download.
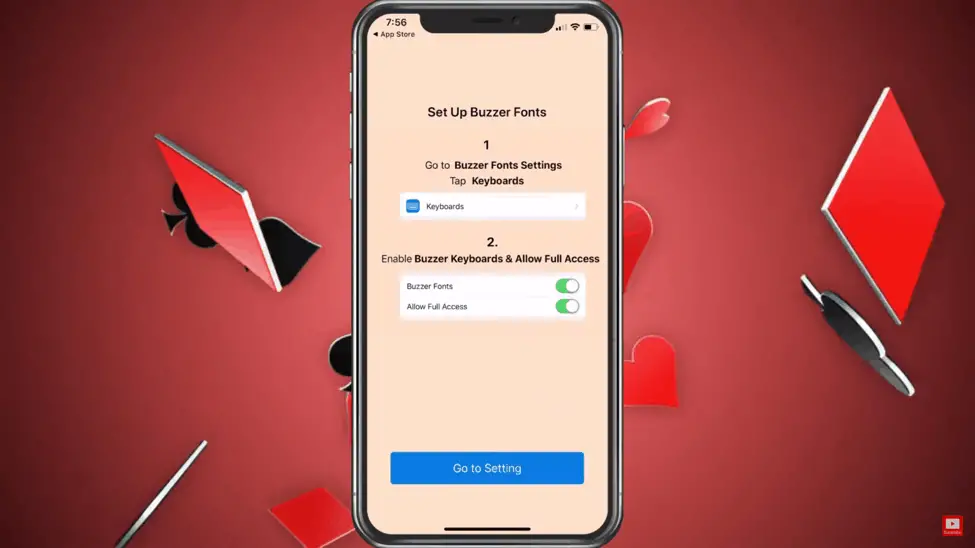
Step 8. Select Open.
Step 9. Follow the directions on the screen
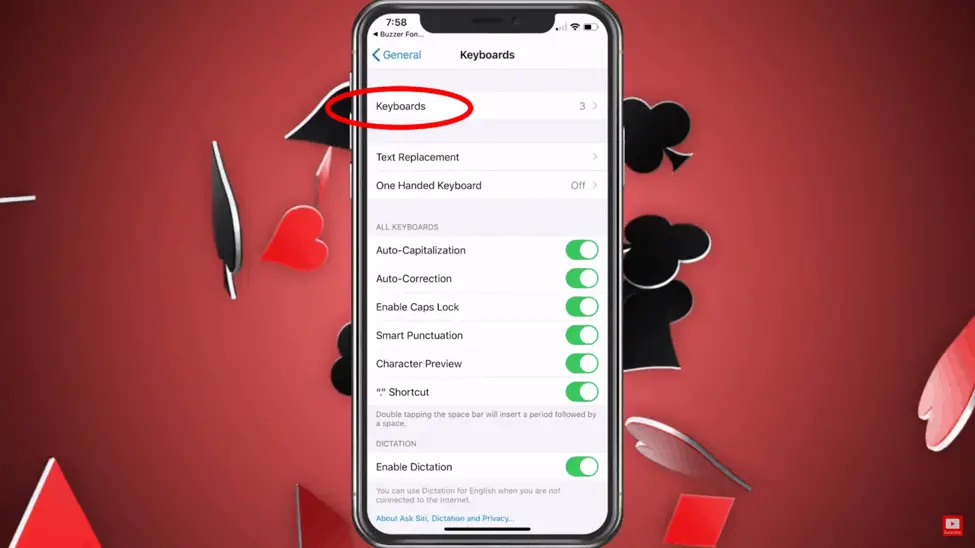
Step 10. Choose General
Step 11. Choose Keyboard
Step 12. Choose Keyboards
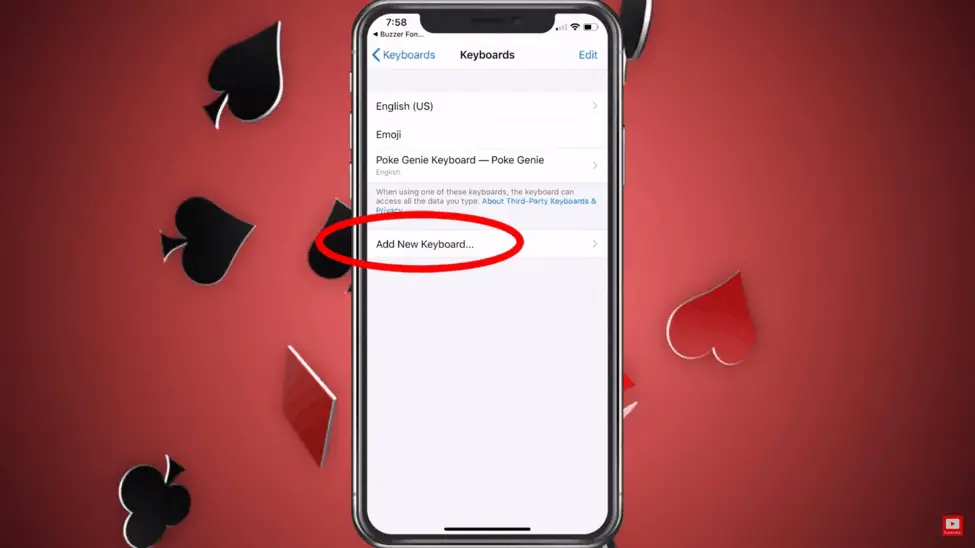
Step 13. Choose Add new keyboard.
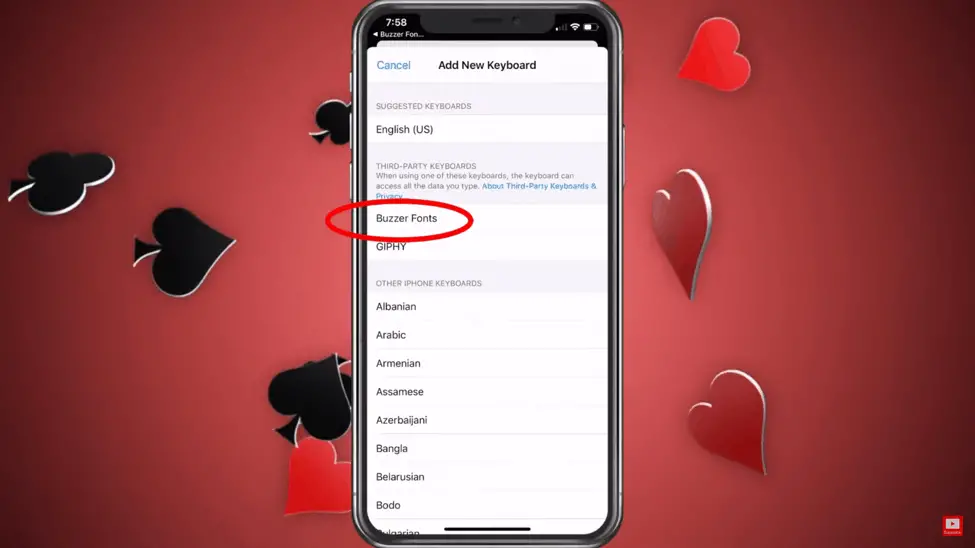
Step 14. Choose Buzzer Fonts.
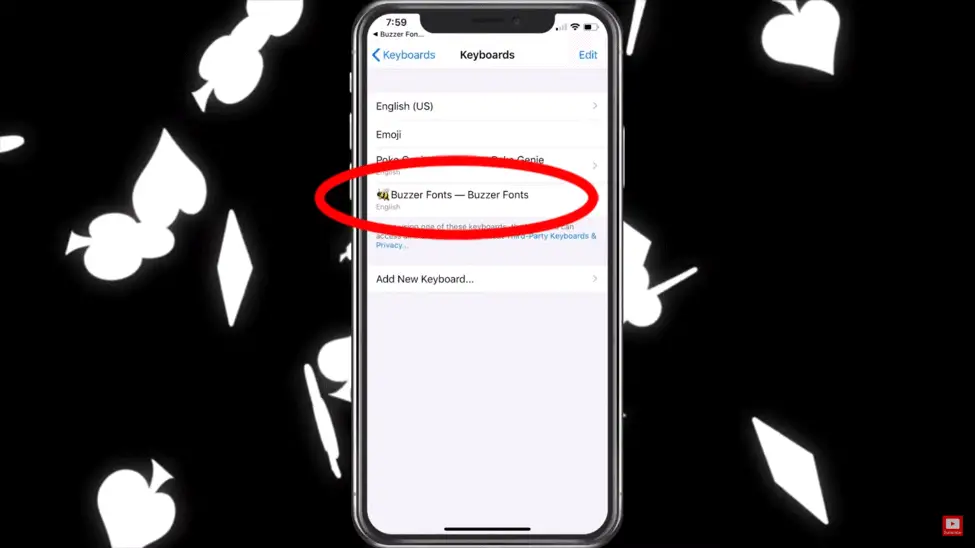
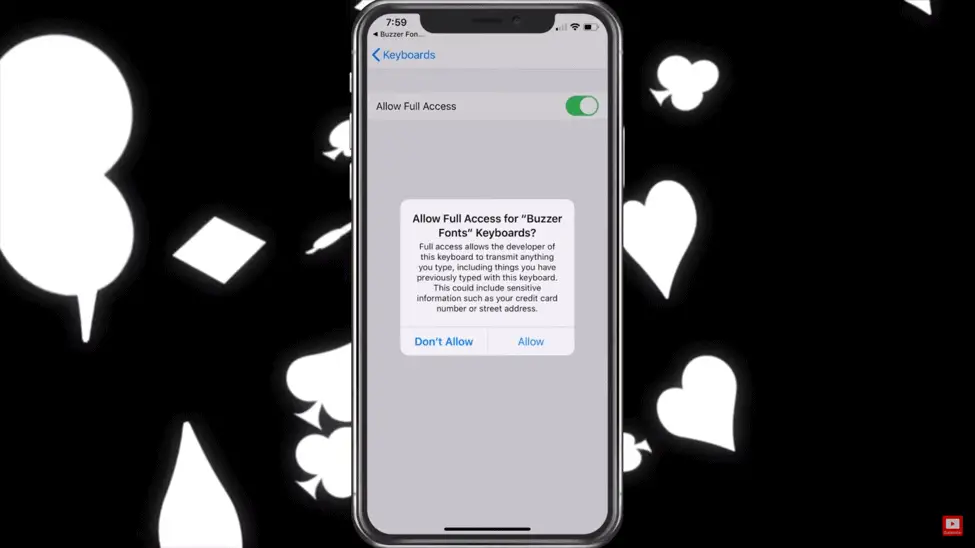
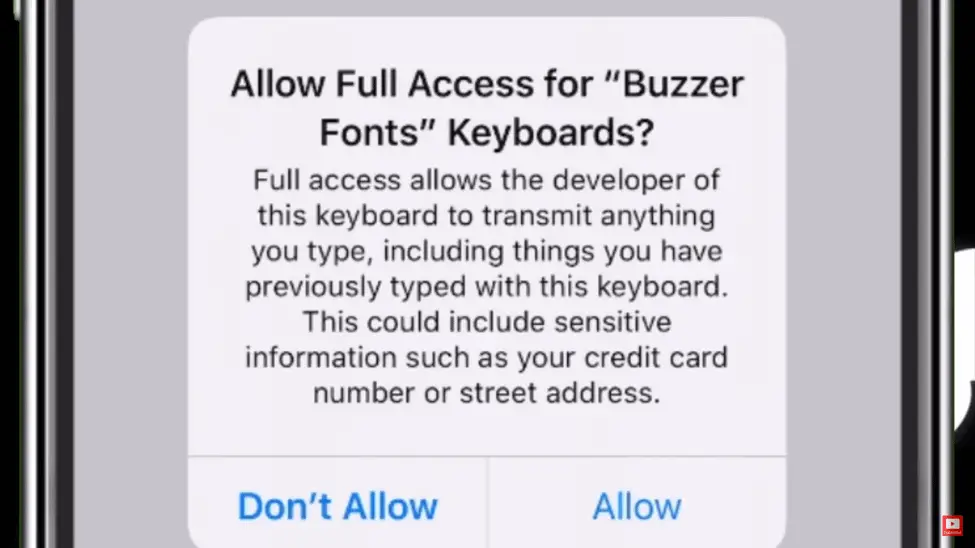
Step 15. Choose Allow Full Access:
We go back to the keyboard. Buzzer Fonts works in all apps.

Step 16. Select the global button

Step 17. Choose the keyboard

Step 18. Choose from over 30 fonts.

Step 19. Leave a review if you like.

For more check out my YouTube channel and please
subscribe if you find the information useful.