
Are you tired of your dim and outdated bathroom lighting? Look no further! Installing the YKLITG bathroom light is the perfect solution for you.
This stylish and bright addition will transform your bathroom into a well-lit oasis.
In this article, we will guide you through the installation process step by step. From preparing the area to connecting the wires and installing the fixture, we’ve got you covered.
Get ready to experience the beauty and functionality of the YKLITG bathroom light!
Key Takeaways
- Turn off the electricity before starting the installation process.
- Connect the ground, black, and white wires securely using caps and electrical tape.
- Install the light fixture by aligning it with the screw holes and tightening the screws.
- Test the light fixture in both daytime and nighttime to appreciate its brightness and performance.
Featured Product: YKLITG Bathroom Light, 2-Light Light Wood Base Mid Century Bathroom Wall Light
Check Price On Amazon: https://amzn.to/45aWCaH
Secondary Product: winshine E12 Candelabra LED Bulbs Dimmable 4000K Daylight 60W
Check Price On Amazon: https://amzn.to/3DznogS
My Amazon Storefront: https://www.amazon.com/shop/kevinsmak27

Before you begin installing the stylish and bright Yklitg bathroom light, make sure to turn off the electricity by flipping the breaker and remove the old hardware by unscrewing or pulling it off.
For the installation process, you will need a few tools, such as a screwdriver, wire stripper, electrical tape, and a meter to check for any electricity flow. Safety precautions are important, so consider covering the drain if you're working over a sink.
When connecting the wires, make sure to line up and twist the ground wires together and secure them with a cap. Connect the black wire to the black wire and the white wire to the white wire. Use electrical tape for added security, and make sure the connections are tight.
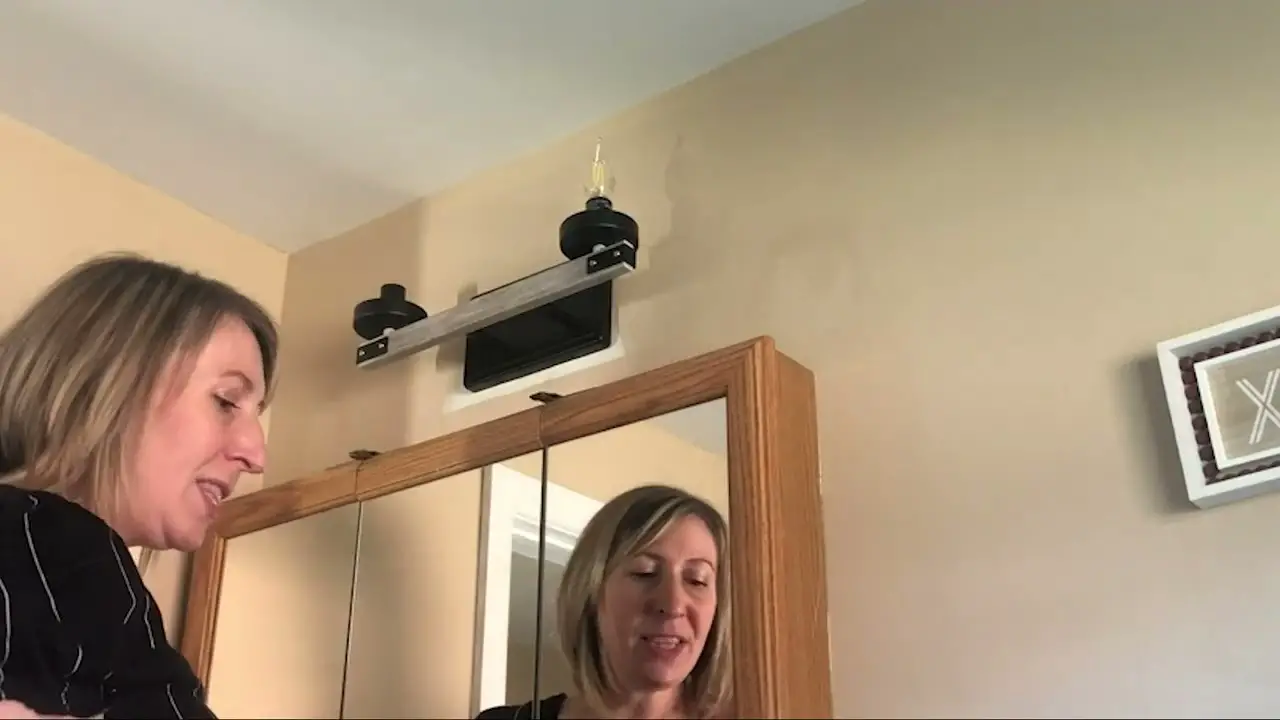
To install the light fixture, align it with the screw holes and use the provided black screws to secure it in place. Tighten all four screws to complete the installation. See video above for exact instructions.
Remember to use maximum 60-watt B size bulbs and attach the glass cover. After the installation, turn the circuit breaker back on and test the light fixture in the daytime to appreciate its brightness.
Enjoy the beautiful farmhouse design and the enhanced visibility in your bathroom. For additional information and support, you can find the product link and support the creator through the provided links.
Connecting the Wires
Make sure to connect the ground wires by lining them up and twisting a cap on. This step is crucial for ensuring the safety and proper functioning of your light fixture.
Before connecting the wires, it is important to take safety precautions. Use a multimeter to ensure there is no electricity flowing through the wires. This will help prevent any potential electrical shocks.
Once you have confirmed that the wires are safe to work with, connect the black wire to the black wire and the white wire to the white wire. Secure the connections by twisting the caps tightly and use electrical tape for added security.
It is essential to ensure that the wires are firmly connected for long-term stability.
Installing the Light Fixture
Once you have aligned the lighting with the screw holes, use the provided black screws to secure the fixture in place. Ensure that the screws are tightened securely for stability.
Before proceeding, it’s important to take safety precautions and turn off the electricity at the breaker.
For this installation, you’ll need a screwdriver to attach the fixture to the wall. It’s also recommended to have a ladder or step stool to reach the fixture safely.
Make sure to follow the manufacturer’s instructions for installing the light fixture.
Additionally, it’s important to check if the light bulbs are included and use maximum 60-watt B size bulbs for optimal performance.
Testing the Light Fixture
Turn the circuit breaker back on and appreciate the brightness of the light fixture in the daytime.
To ensure the functionality and performance of the newly installed light fixture, it is important to conduct thorough testing. Follow these testing methods and troubleshooting tips:
- Flip the switch: Turn on the light switch to see if the fixture illuminates. If it doesn’t, move on to the next step.
- Check the connections: Ensure that all the wires are securely connected. If any connections are loose, tighten them.
- Test the bulbs: Replace the bulbs with maximum 60-watt B size bulbs. Turn on the switch again to see if the bulbs are working properly.
By following these testing methods and troubleshooting tips, you can ensure that the light fixture is functioning correctly and providing the desired brightness. If any issues persist, consult the manufacturer’s instructions or seek professional assistance.
Enjoy the well-lit atmosphere and the freedom it brings to your space.
Conclusion
To conclude, installing the YKLITG bathroom light is a straightforward process that can greatly enhance the style and brightness of any bathroom. By following the step-by-step instructions provided in the video, you can easily prepare for the installation by turning off the electricity and removing the old hardware.
And here’s an interesting statistic: Did you know that proper bathroom lighting can increase the value of your home by up to 20%? So not only does the YKLITG bathroom light provide functionality and style, but it can also be a wise investment for your property.